

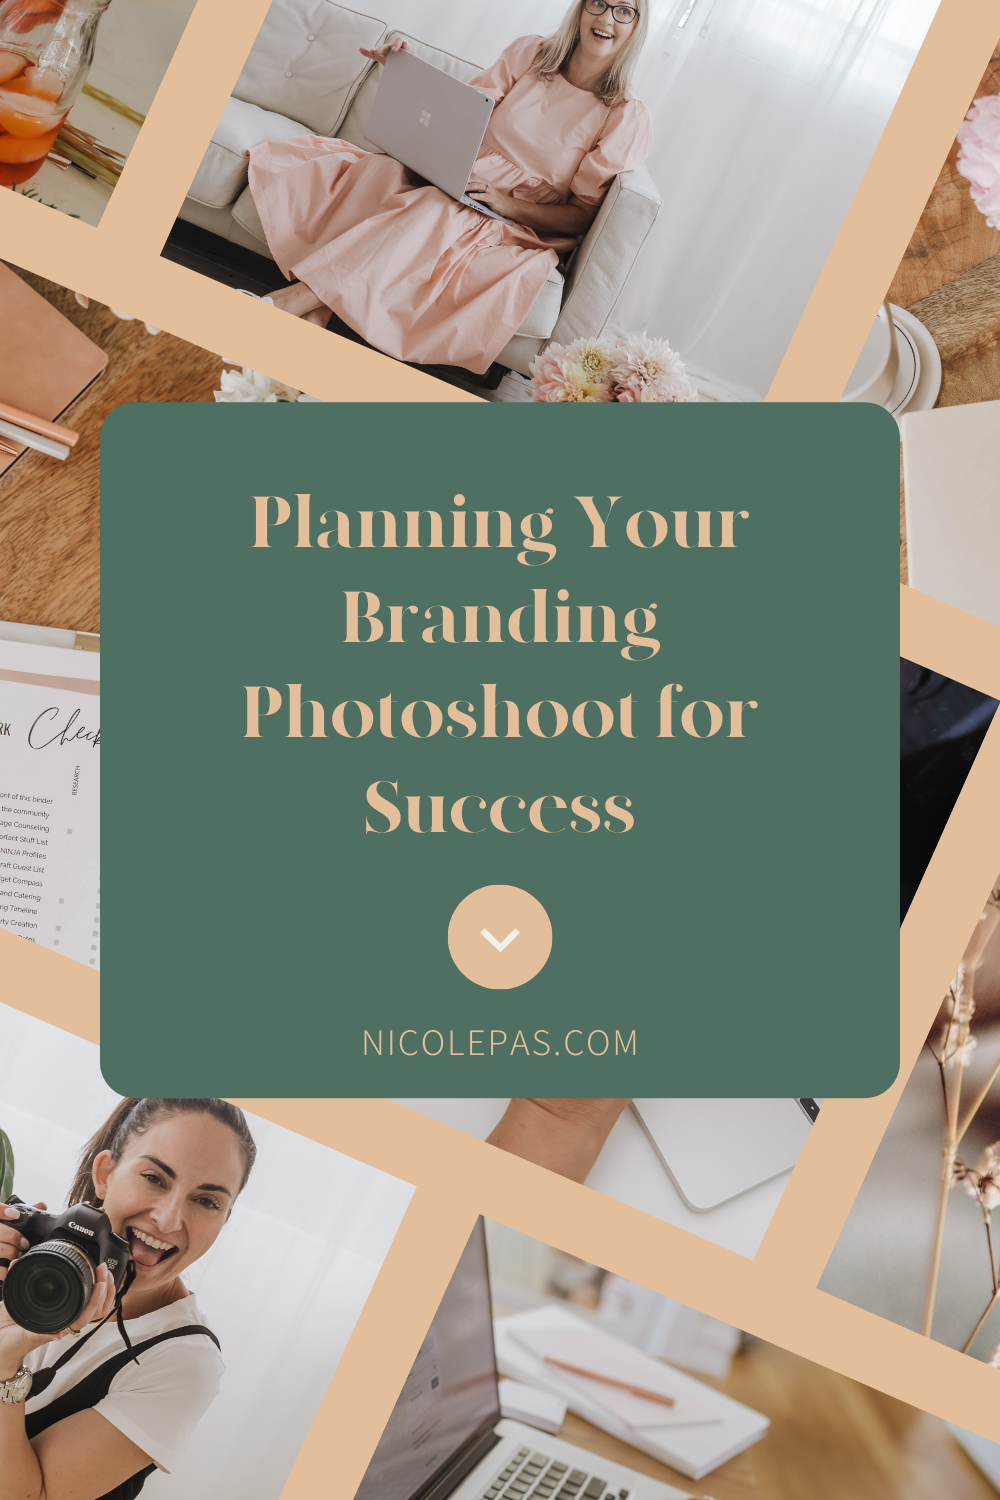
A huge congratulations to you for taking the first step in planning your personal branding photoshoot! I know it can be a big step in your business journey and you’ve done that by showing up here today. You’ve made that first step to becoming more visible in your business and I know you’re ready to show your audience what you are all about!
A brand is much more than a pretty logo, fonts and colours. Your brand is a visual representation of you, your values, story and how you support your clients.
During my career as a photographer, I have worked with many entrepreneurs & brands to capture the soul & stories to really make their brand shine. Today I am sharing with you the top 5 tips that I share with my clients to help them plan for their branding photoshoot to ensure the day is a huge success.
1. Understanding WHY your clients choose you
It’s so important to think about WHY you’re doing the photoshoot. By having a clear purpose you will be able to create photos that will be a true expression of your brand. Maybe it’s time to dive back into your branding documents, get familiar with your ideal client avatar and really articulate WHY your clients choose your brand.
This is where the fun begins…this is where you get to decide how your audience will see your brand and product/service. There are a few crucial steps to get right before we can start picking out locations and booking that HMUA….
Ask yourself these kinds of questions before the shoot:
- Who is my ideal client? Picture who they are, what it is they need from you and how you will be able to solve their problems.
- What makes my brand stand out in my industry?
- What do I offer my clients that no-one else does?
- What emotion do I want my audience to feel when they see my brand?
- Do you plan out your content? If so, think about the next 3/6/12 months and bring your content list to the shoot (or better yet, send it to your photographer ahead of time!)
2. Bring your ideas to life
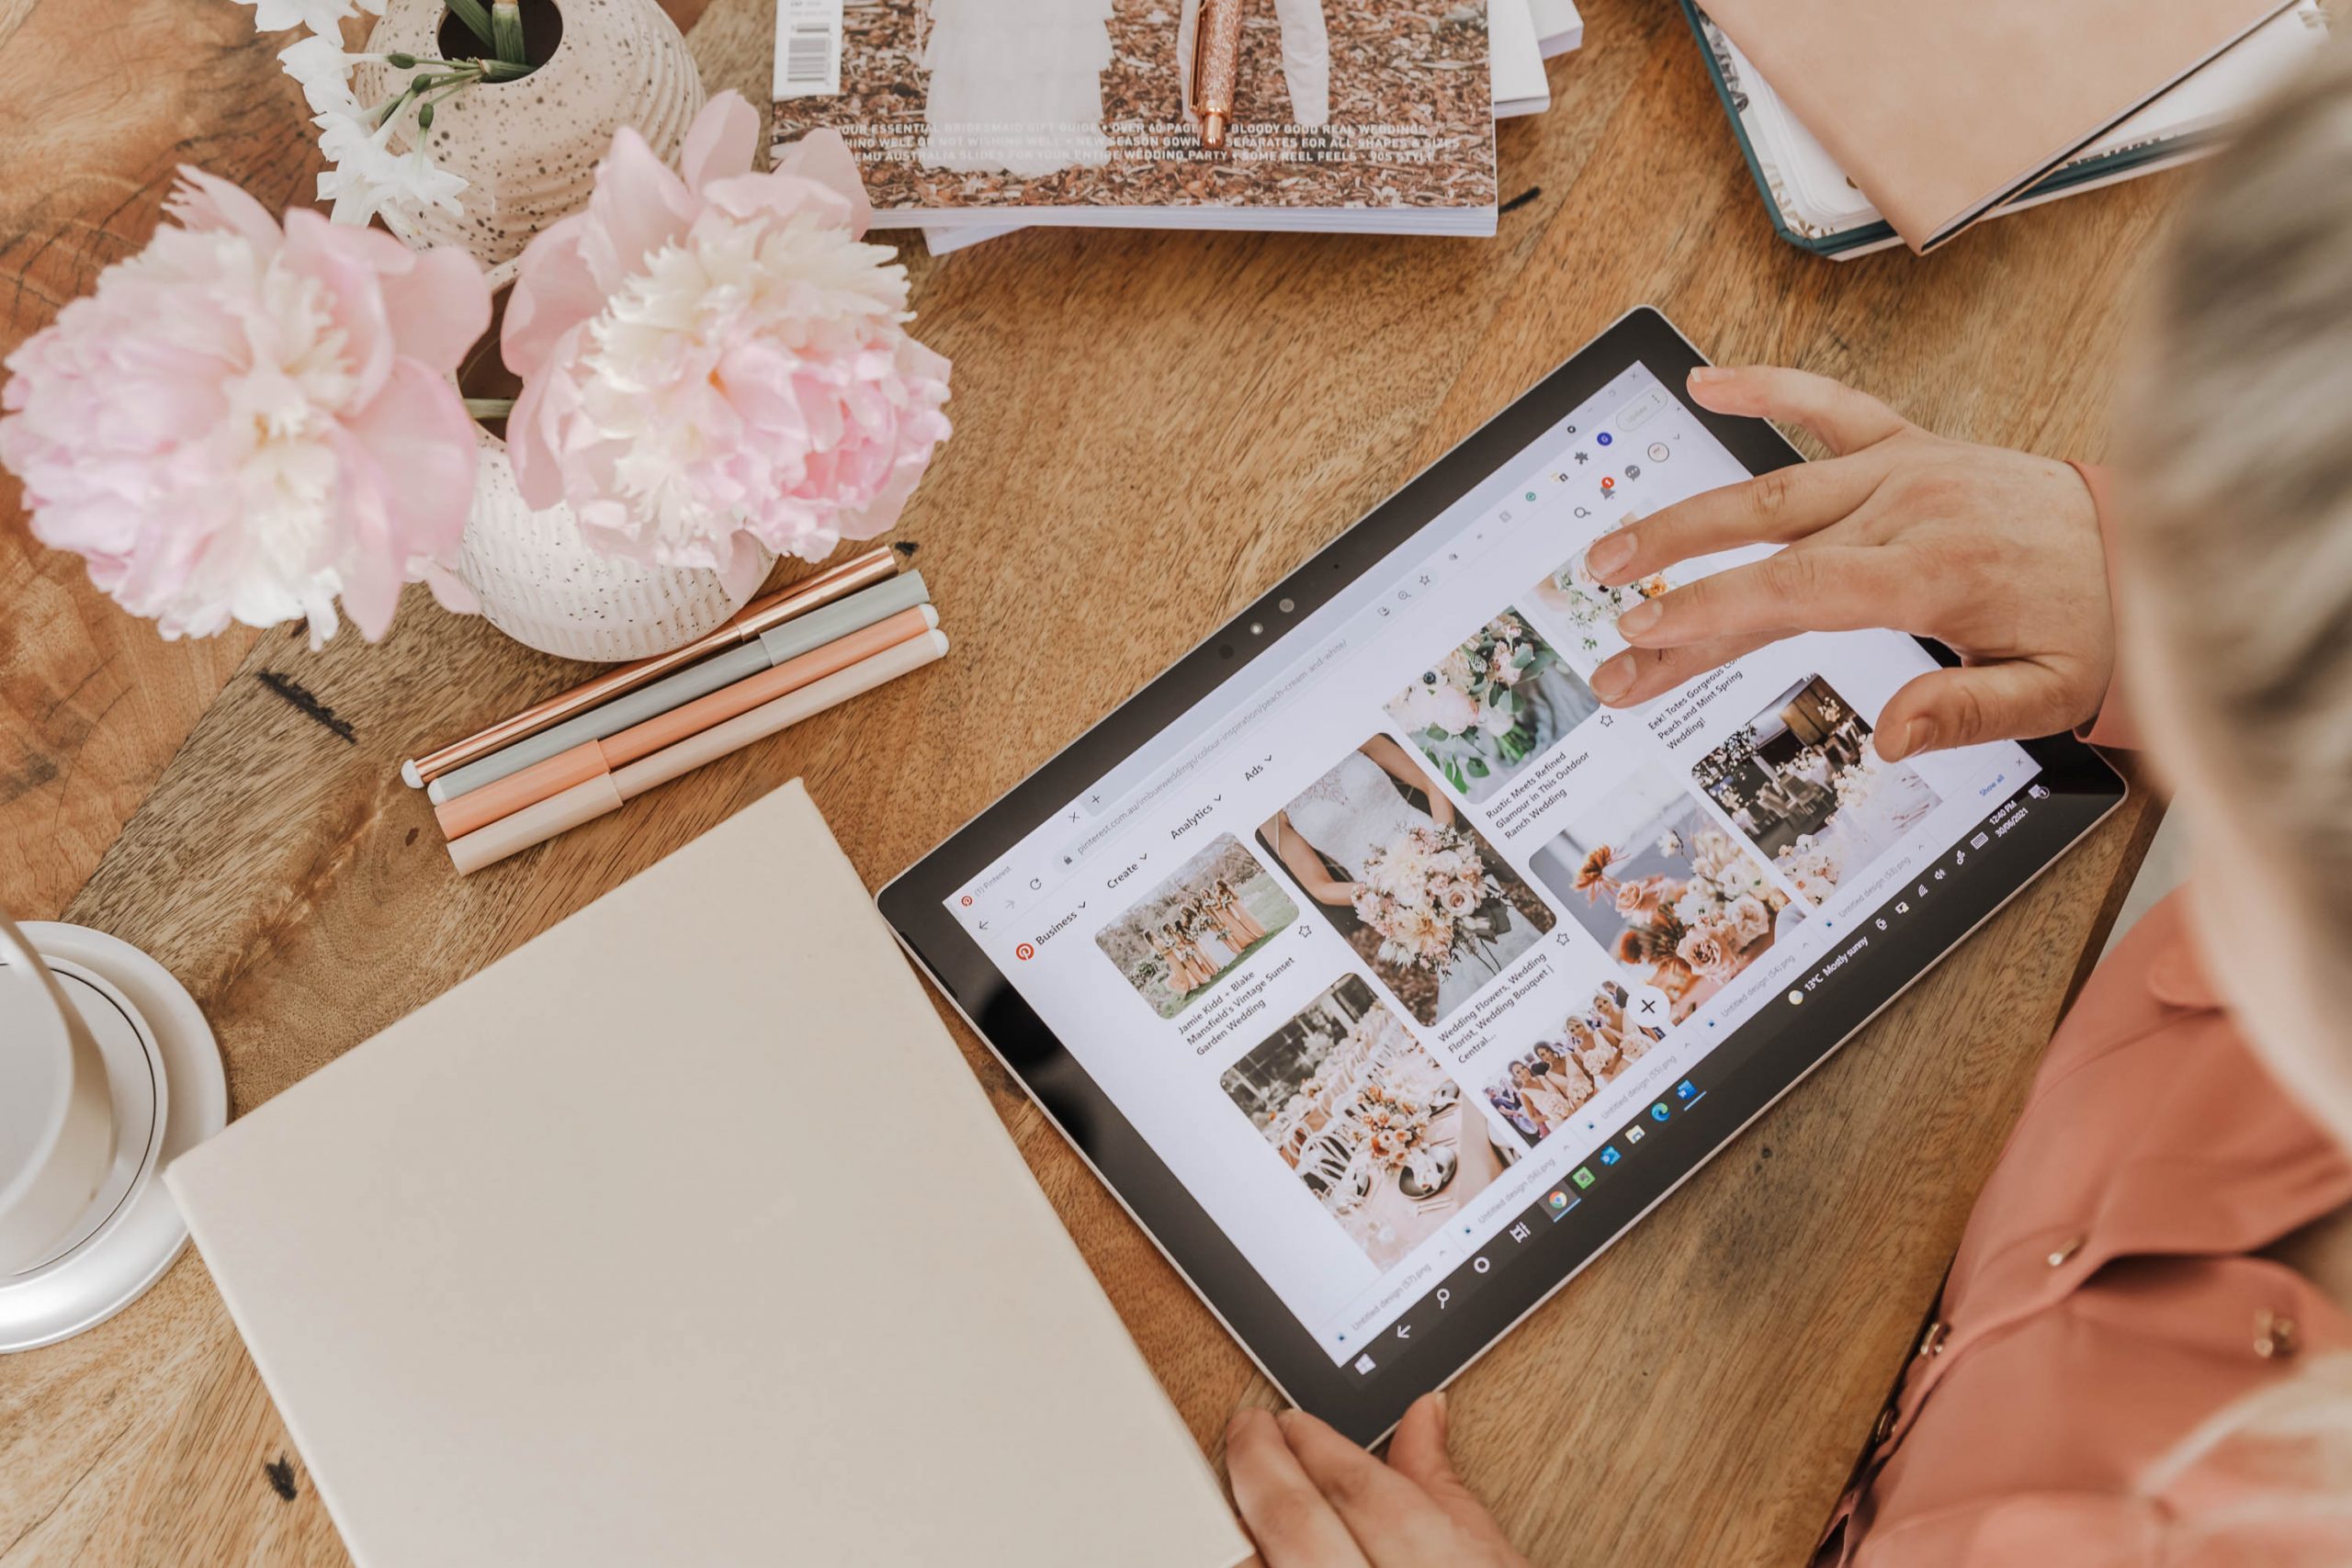
If you are anything like me, this is where the fun really begins in creating your visual mood boards to really bring your ideas and styles to life. I recommend using Pinterest to create a visual board of photos and Canva to bring the photos together in one place.
It’s a great idea to share your Pinterest board with your photographer so that you both get a clear understanding of the style and types of shots that you want to achieve that are aligned with your branding. I recommend having a collection of 30-40 images that really capture the overall aesthetic and poses that you want to achieve.
Include candid and posed shots, whilst we all love a shot of you smiling holding a coffee cup, candid, real shots are what will draw your audience in. If you’re a maker and a creator, ALWAYS include shots of you ‘doing’ what it is you, well, do!
Here’s my step to step guide for creating your visual mood board:
- Create a secret board in Pinterest and fill it with images that really speak to you and capture your brand
- Keep in mind your brand style and find images that really articulate your brands message
- Once you have 30-40 images on your board it’s time to cull and bring your favourites over to Canva
- Cull and create a shot list of poses that you like
- Create a A4 canva template and place your fav images around the page
- Add in your brand colours, logo & fonts (if you have them) and really create a visual story
- Share with your photographer and let the magic begin!
3. Tools of the trade
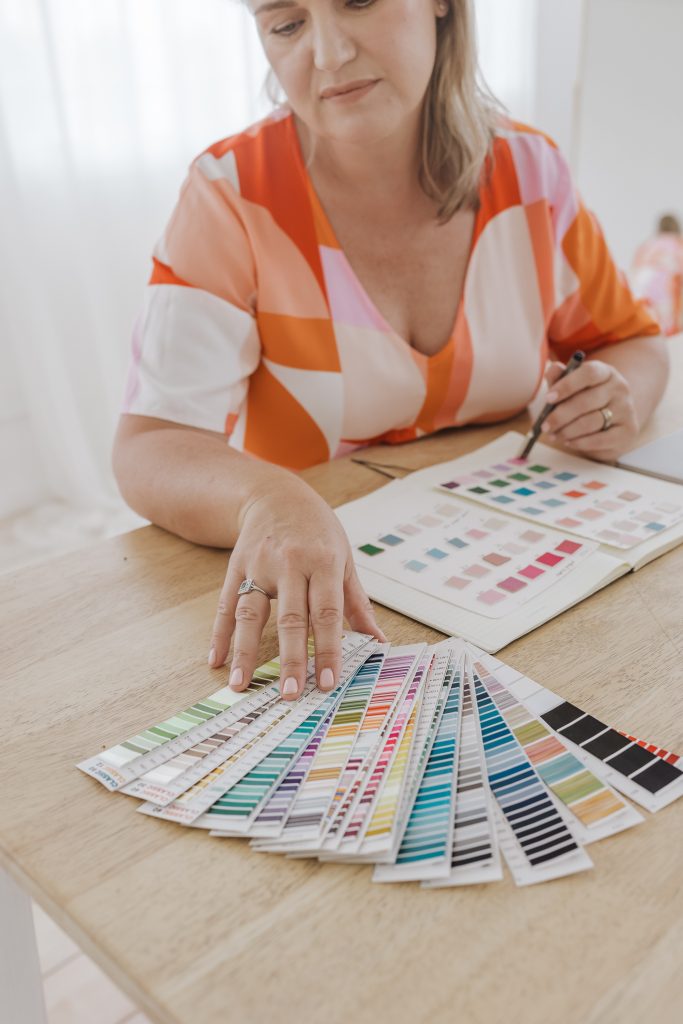
Now that you have your visual moodboard completed it’s time to create a list of what props/items that you want to include in your photos. It’s important to have these planned out especially if we are shooting at a different location and you may want to buy some new props that really tell your brands’ story.
Check back over that brand research you did and think about which props tell the story of your brand. What are those must have items that help you be at the best? Laptop, camera, makeup brushes, spatula, mood boards, microphone…let’s show your audience how you get the job done!
Start by looking around your office, note down what you have and write a list of some items that you’d like to purchase that really connect with your brand.
4. Envision the location
It’s time to envision where you’d like to have your photoshoot. Plan your location so that there are multiple elements that can be worked into the shoot, ie, you’re a baker, so make sure you pick a location where you can access a kitchen, cafe, house/living space or shop front.
There are endless possibilities with locations for your photoshoot. It could be done amongst nature, at home or in a co-working space. Look back at your visual mood board and see if there is a similar location theme there that really captures your brand.
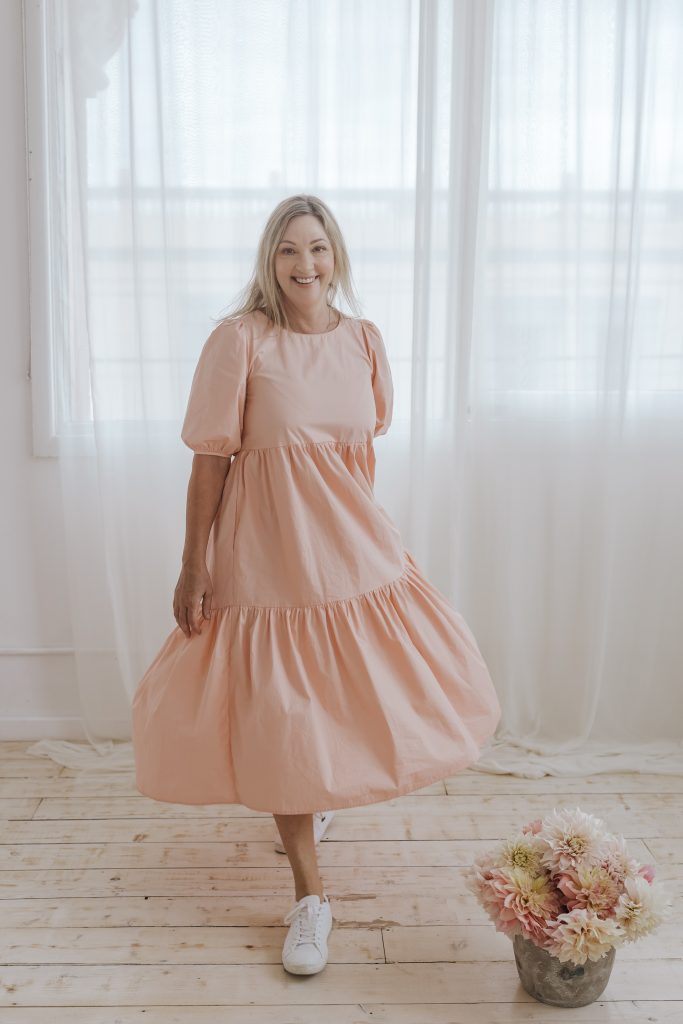
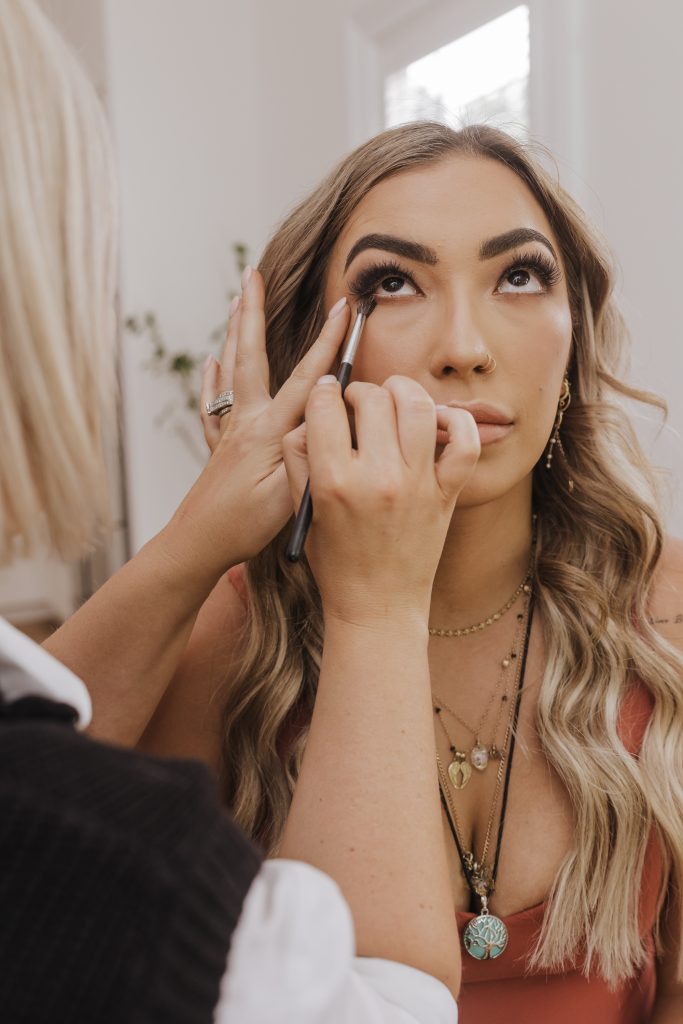
5. Dress for success, hair and makeup
It’s a well-known fact that what you wear can affect your mood and confidence. Make sure you bring a range of outfits that you not only love wearing, but your clients will instantly recognise as your style. And if you can incorporate your brand colours, even better!
Wear shoes that you feel comfortable in and that are location appropriate. Bring layers that you can take off if shooting in a location that you can’t change. Avoid pattern colours and go for more solid colours as they tend to work best in a photoshoot (unless patterns are your jam, then go for it!).
If you can, I always recommend booking into the hairdresser the day of or the day before the shoot to get your hair freshly done. Hair and makeup is a really personal thing. Some of my clients love to have their makeup done and others like to do it themselves – it’s completely up to you. There is no right or wrong. Test out your makeup before the shoot and take some photos with your phone to see if you’re happy with the way it looks.
And to finish!
And most importantly, have fun! This is your time to shine. Relax, go with the flow and enjoy the process. It will show in the images captured and you’ll be excited to use them across all your channels.
Recent Comments